Background
In the first article we built an Azure Virtual Desktop lab that consisted of cloud only infrastructure. We deployed Storage accounts ready for FSLogix profile containers and we created an instance of Azure Active Directory Services (AADDS) so we can use domain join/NTFS and other benefits we would get if we had synced an on premise domain via AD Connect.
We then deployed a host pool with a session host via the "create a host pool" wizard
If you missed that article or need a reference of what's been deployed or a refresher you can check the link out below!
switchitup.tech/setting-up-an-azure-virtual..
Introduction
In the previous post we showed you how to customize an Image, specifically for an AVD infrastructure. More specifically we added applications such as Office/OneDrive and Teams that need to be installed to support a shared machine environment.
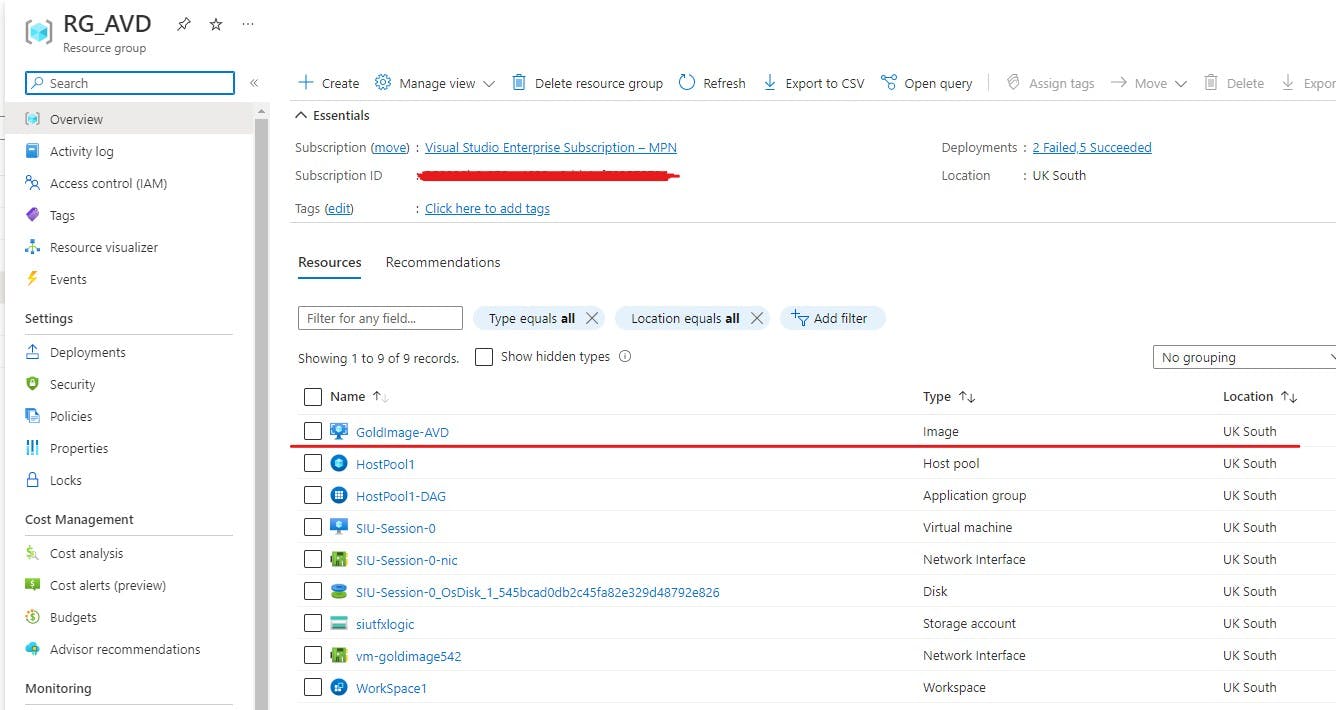
So, we now have an image that has gone through the Sysprep phase and been generalized. We then captured the image via the Azure portal. This can be found in the Resource Group you saved it to. Mine is in RG_AVD:
So how do we apply this to our Session hosts? Well, we actually have to create new session hosts that use the saved Image. Steps to follow:
Turn Drain mode on for current session hosts
Create a new registration key to allow us to add a new session host
Create a new session host with the new image
Test and validate
Remove old Hosts
Turn Drain Mode on For Current Session Host(s)
Navigate to your host pool and select "Session Hosts" Here you can select a host and turn drain mode on, this will stop any new connections to AVD. If you in a working environment, you can send a message out to connected users that there will be a maintenance window.

If there is an issue when testing your new image, you can easily role back to the working Session Hosts.
Create a new registration key
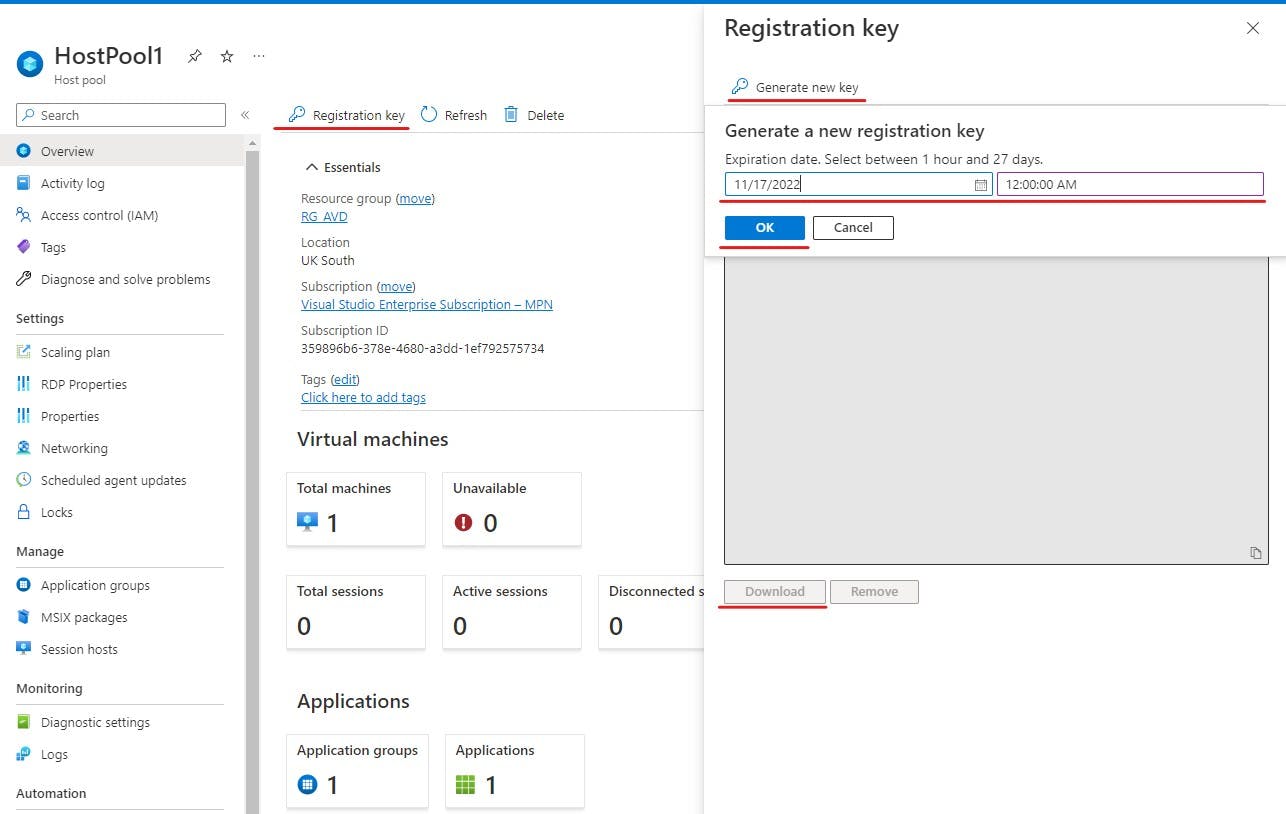
You will be unable to add a new session host unless you generate a new registration key. Navigate to your hostpool you want to build the new session host in and select "Registration Key" in the top navigation. Then in the pop-up blade you can select the "Generate New Key" button and give an active time for the key to accept new hosts.
Create new session Host with custom image
Now we can add a new session host and build it with our custom gold image.
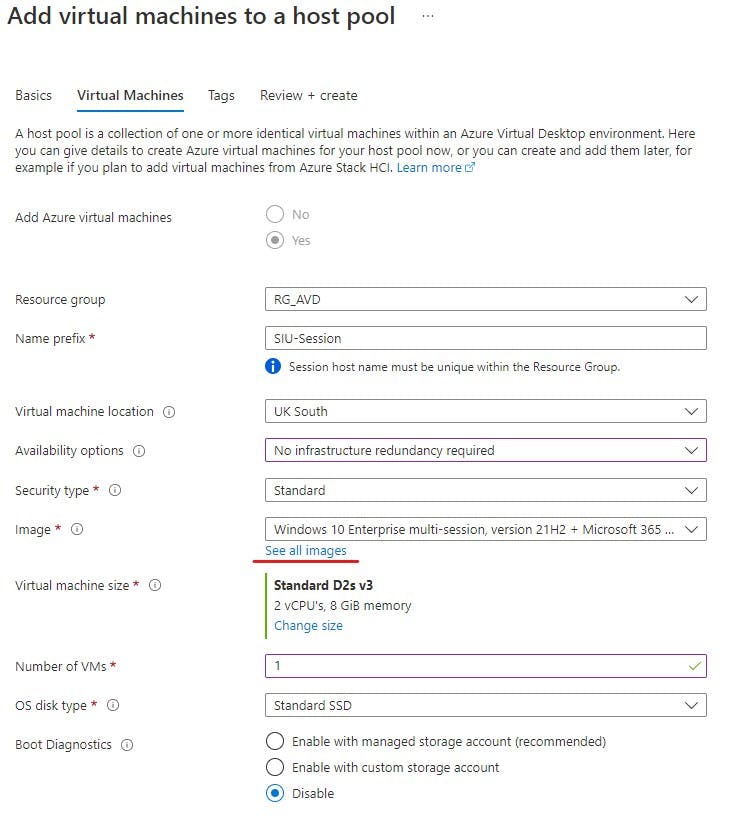
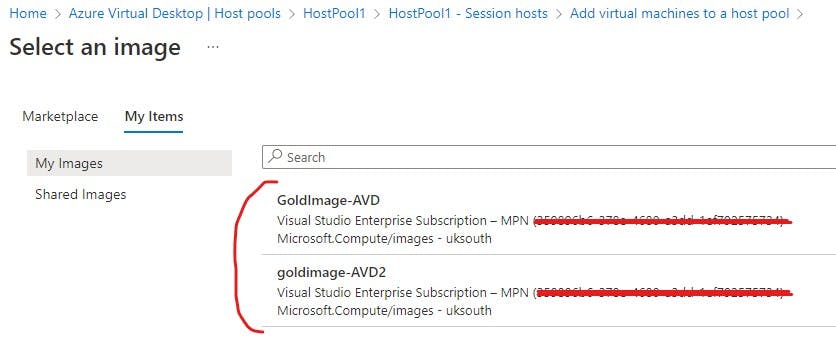
Select your image from the list in "My Items" my latest image with all changes is the "AVD2" image.
Test and Validate
Once the session host is built confirm it has successfully deployed and domain joined etc, you can do this by drilling into the session host itself on the "Session hosts" page:

If all is running ok, we can now login as testuser1 we created during lab setup via remote desktop connection and subscribe to the workspace.
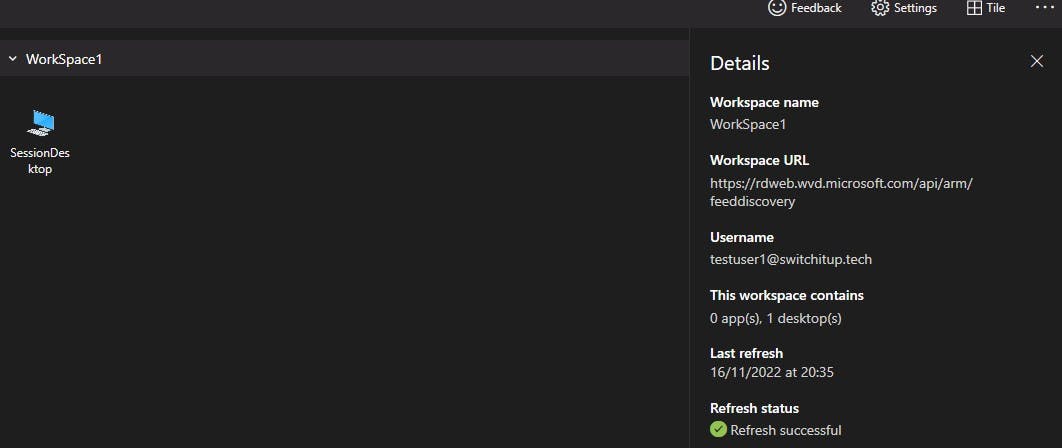
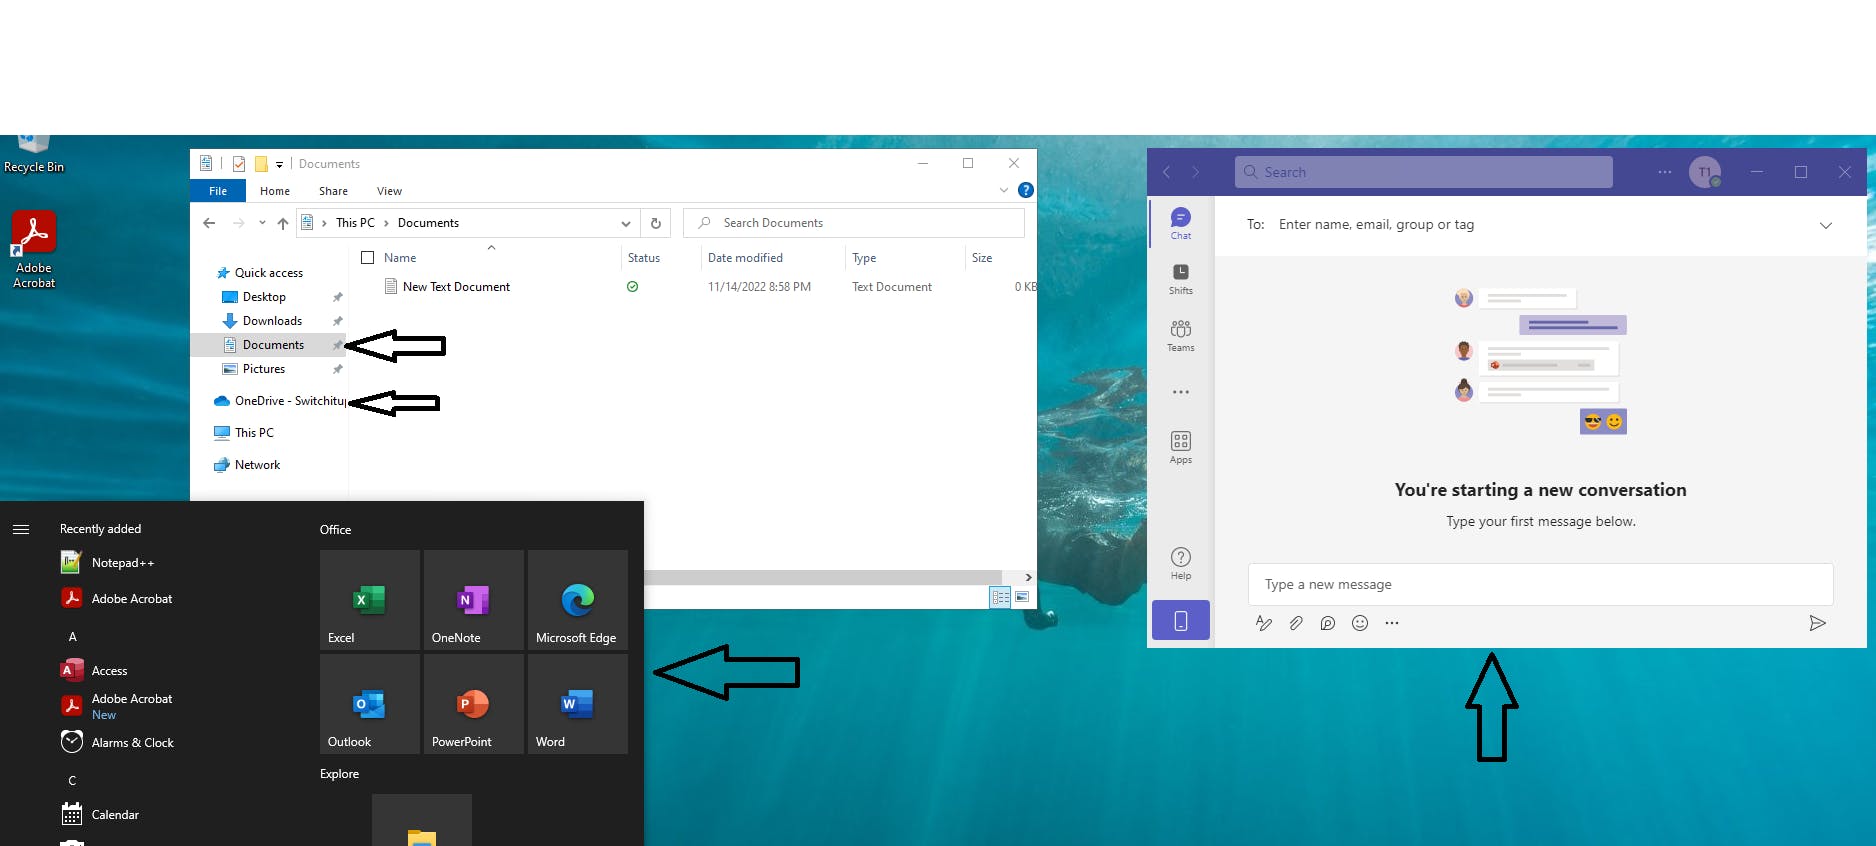
On login we can see Teams is working correctly, I have my personal OneDrive my users FSLogix profile has come down as their test document is available and we can see the custom apps we have installed on the image in the previous article.
Remove old Session Host(s)
When you are confident that your new image is working wonders in your AVD environment, and everyone is happy we can remove the old hosts. Navigate back to our session hosts in the host pool. Select your old session host and click the Remove button in the top navigation bar.

Please note this will keep associated resources so you will have to remove these manually from your relevant resource groups.
How do I update the Gold Image again?
Pretty much rinse and repeat.
Build a new VM with the captured Image
Customize the image
Snapshot the Disk and Sysprep the VM
follow the steps in this article to build and reapply the image to a new session host.
Summary
We have successfully upgraded our session host(s) with our latest gold image.
But what if we want to have some sort of control over our images such as versioning or being able to replicate our images to other regions if our AVD spans globally? Or maybe you want multiple images for different departments or regions? Then Azure Compute Gallery is for you, and we will cover this in the next article
