Introduction
This article looks at What Azure Bastion is and how it works to secure administrator access to your Azure VM's.
In the world of security, protecting access to your Virtual Machines in Azure or any platform is or should be of key importance. There are a number of ways you can Access a machine in Azure. Key methods are below:
Open port 3389 (RDP) 22 (SSH) to a public IP on your VM (NOT recommended)
A dedicated Jump box VM with 3389 open you can RDP to then move internally on the VNET (Still Risky)
Enable Just-in-Time (JIT) will open specified ports to public facing IP for specified time frame when access is required.
Use Azure Bastion
What is Azure Bastion
Azure Bastion allows you to remotely manage your Azure Virtual Machines without exposing ports such as RDP/SSH to the Internet publicly.
How does Azure Bastion Work
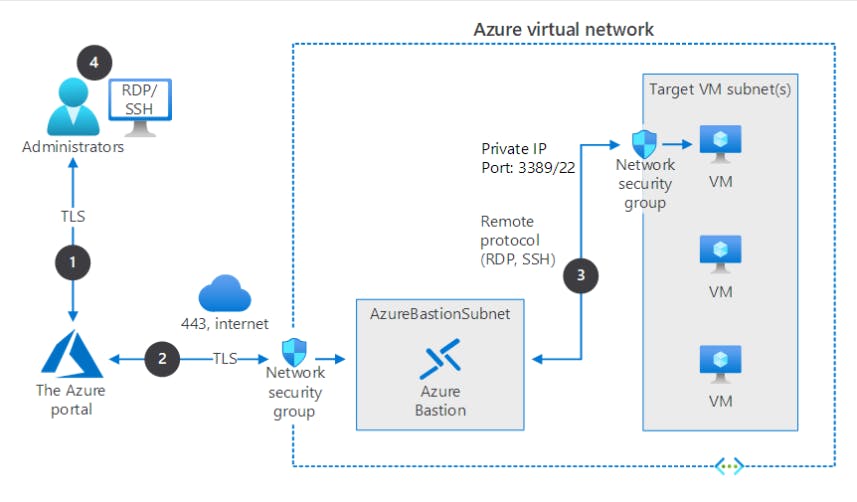
You connect to Azure Bastion securely with Secure Sockets Layer (SSL), and it connects to the target VMs using a private IP.
The portal connects over a secured connection to Azure Bastion through an NSG that's protecting the virtual network that hosts the targeted VM.
Azure Bastion initiates a connection to the target VM.
The RDP or SSH session opens in the browser on the administrator console. Azure Bastion streams the session information through custom packages. These packages are protected by TLS.
Deploying Azure Bastion
For this Exercise you will need:
Valid Azure Subscription
Resource group (RG_Bastion) we will deploy all resources to this RG so we can quick delete everything when we clear up.
VNET
Test VM attached to the above VNET
VNET Creation
When you create your VNET the "Security" Tab allows you to enable Azure Bastion. You will need to assign a Name, Subnet Address and Public IP. you can create a new Public IP address if you don't already have an existing address to assign.
My VNET details/Address Ranges:
VNET Name = Production
VNET address range = 192.168.0.0/16
Subnet1 (Main) = 192.168.1.0/24
Subnet2 (AzureBastionSubnet) = 192.168.2.0/24
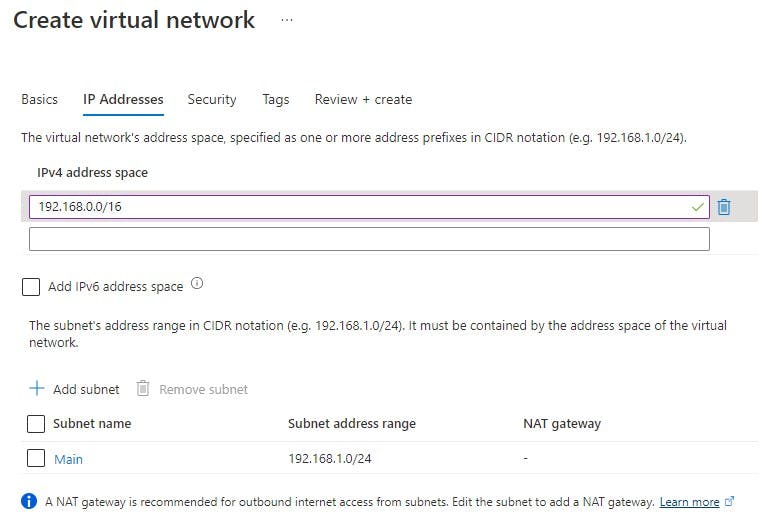
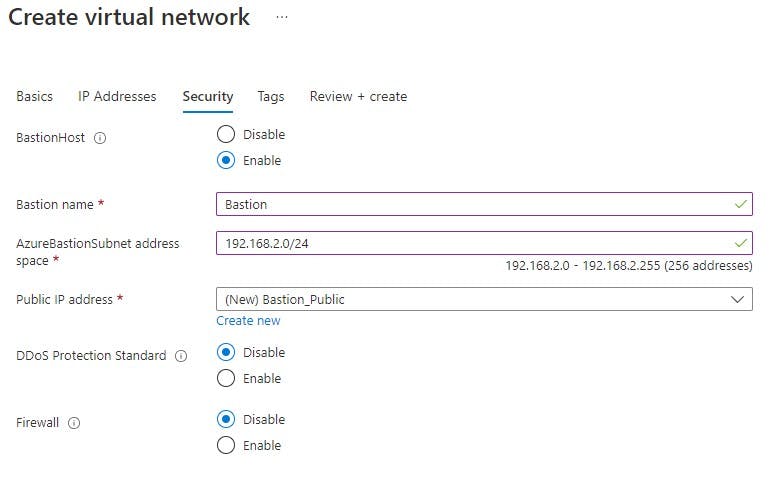
After you have filled in the above you can review and create the resource.

By navigating to your VNET>Subnets you can verify your created subnets:
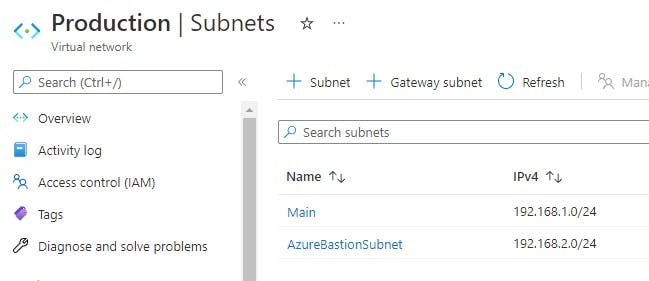
Notice "AzureBastionSubnet" name given to the subnet. If you create the bastion subnet manually this is the name it MUST be given.
TestVM Creation
I have built a very basic VM in Azure, below is the SKU and settings I have chosen. I'm not going to go into how to create the VM into detail.
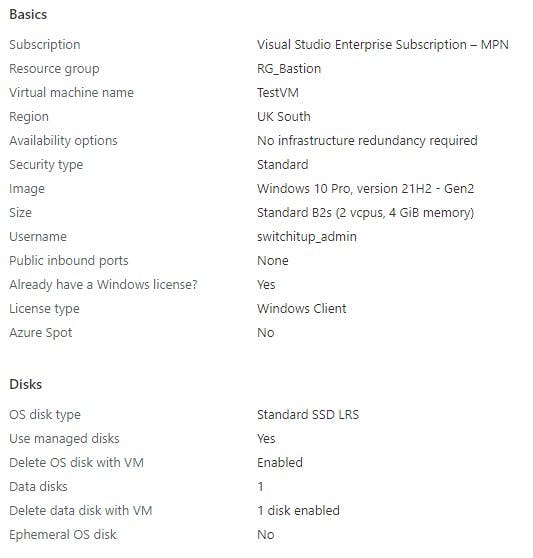
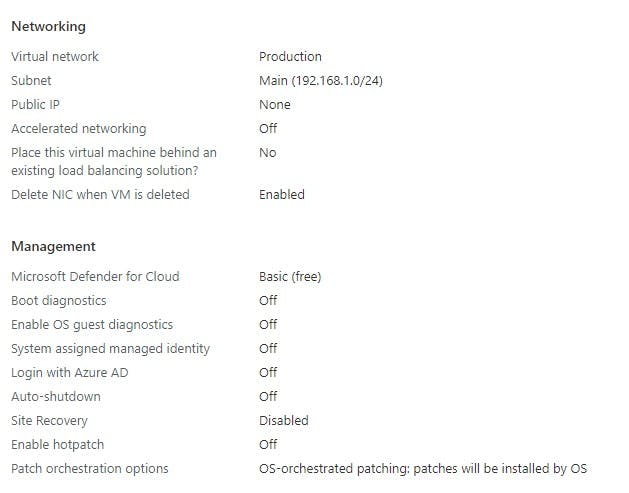
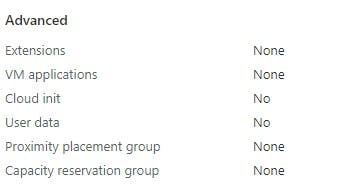
When you have deployed your resources you should have the following in your RG_Bastion Resource Group (naming may differ based on what you named your resources):

Connecting Via Bastion
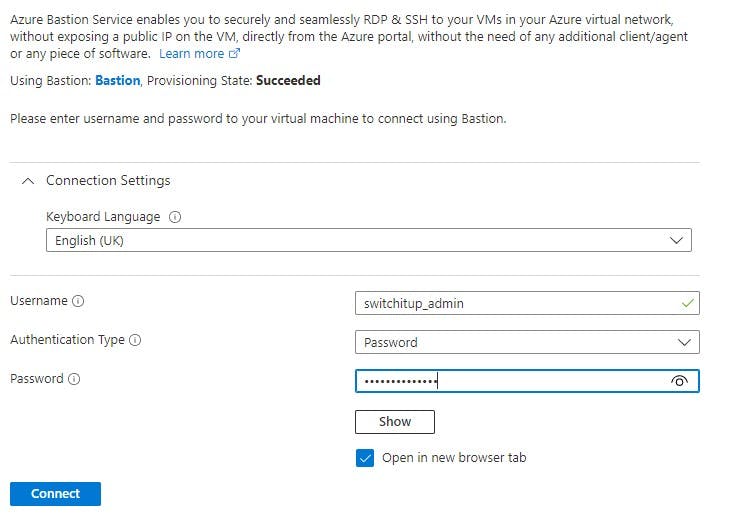
With the above completed we are ready to test our connection. Navigate to your Test VM and select connect. You will see RDP/SSH/Bastion, Select Bastion.

You will be required to enter the admin account and password you created when you created the VM.
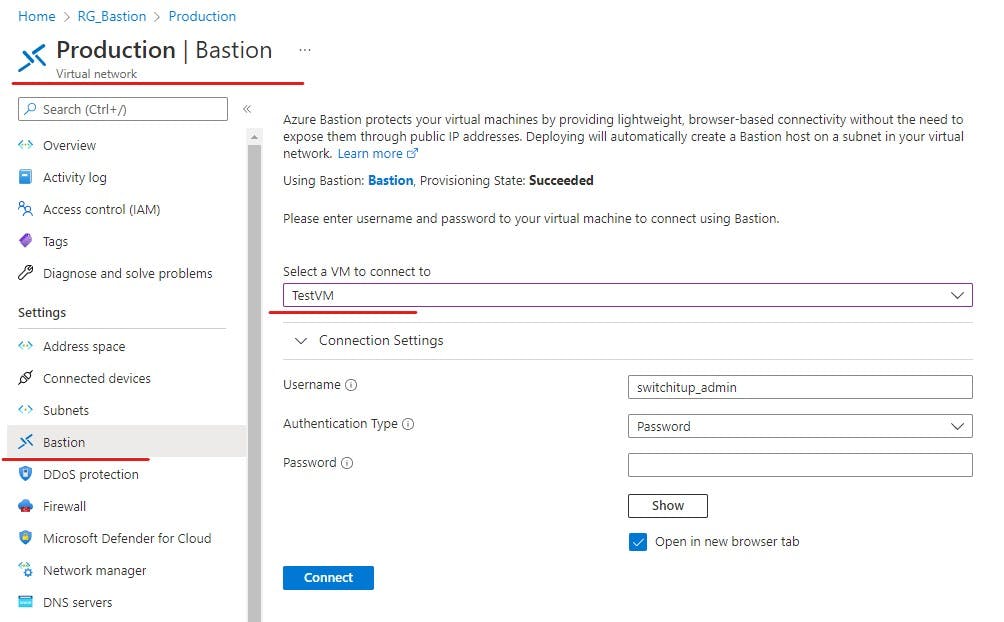
An alternative method is to navigate to your VNET and then select Bastion, if you have more then one VM on VNET you can select the VM you wish to connect to from the drop down box.
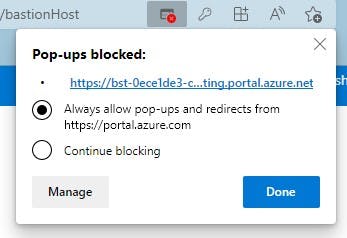
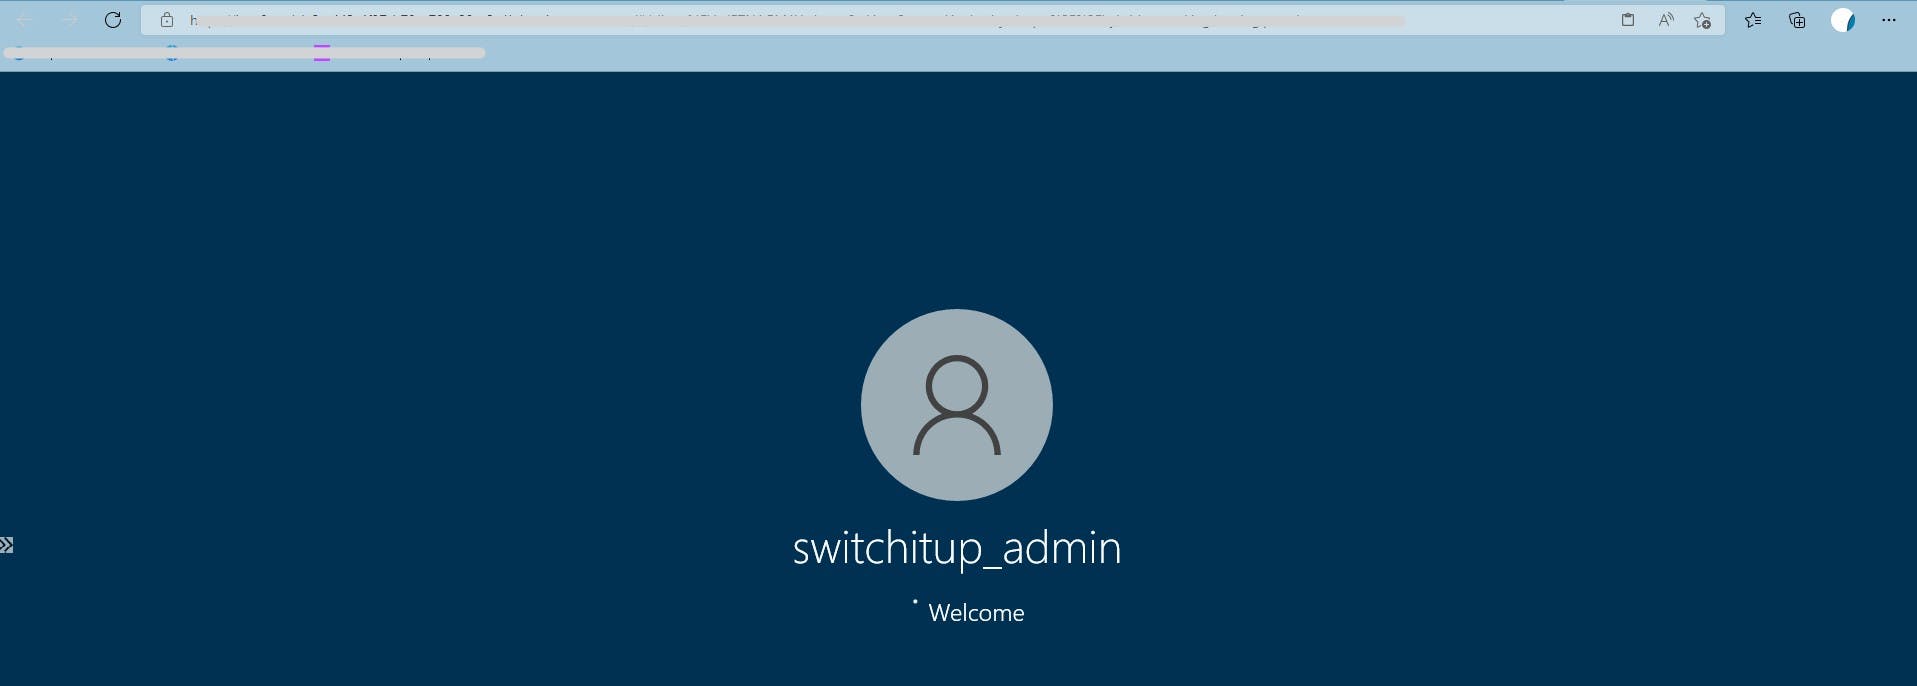
Hit connect and If all is working a webpage will load with your VM screen logging in and ready for you to control. You may get a pop-up blocked message, make sure you allow pop-ups from portal.azure.
Things to note if manually creating Bastion:
Creating Bastion Manually requires a subnet of /26 or Larger. Early days we used /27 but this changed from November 2021.
Subnet must be called "AzureBastionSubnet"
Public IP must be in the same Region you deploy Bastion in
Summary
Congratulations you have just configured Azure Bastion! Don't forget to remove your resources to save incurring any charges. If you followed the advice and deployed all resources to RG_Bastion or a resource group of your choice you can delete the resource group which will remove all resources.
Hope you found this informative, thank you for reading.
Additional recommended reading:
Microsoft Learn Module
docs.microsoft.com/en-us/learn/modules/intr..
Microsoft Documents - Examples
docs.microsoft.com/en-us/azure/bastion/tuto..
Office Azure bastion Page
azure.microsoft.com/en-gb/services/azure-ba..
Azure bastion Cost
azure.microsoft.com/en-us/pricing/details/a..
